Create a dataset
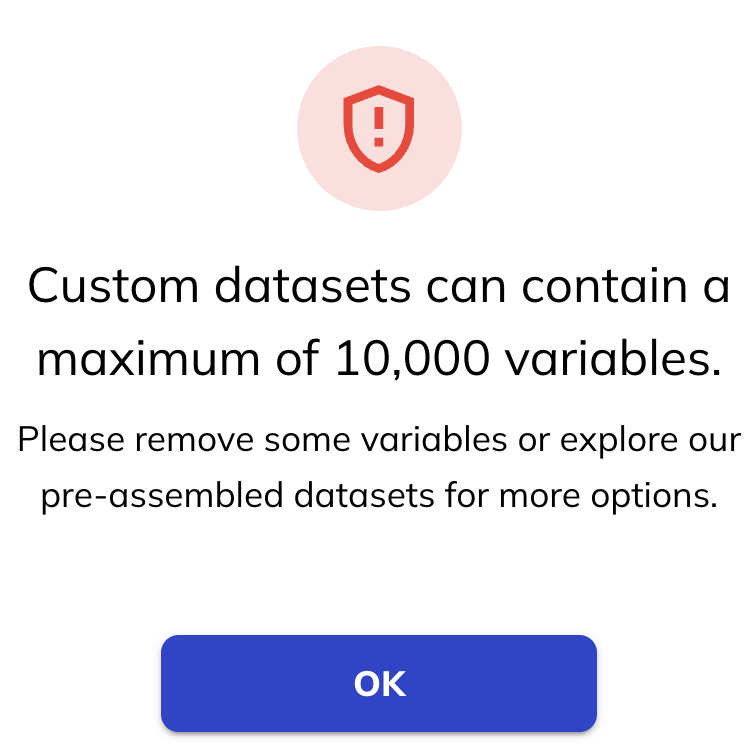
Custom datasets are limited to 10,000 variables. If you select more than 10,000 variables you will be alerted with red-text in the ‘variable select’ banner and a warning message when you try to add them to your dataset.
If you require more variables, you can download a pre-assembled dataset in the ‘My datasets’ tab. Learn more about that here.

Quick guide
Open the below tab to get a quick step by step guide to creating a dataset.
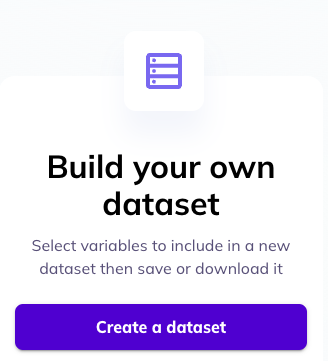
Step 1: On the landing page of DEAP click ‘build your own dataset’.
Step 2: Click on the ontology tree on the left or filter () the data dictionary table on the right to narrow down the variables you are interested in looking at. As you click/filter the number of records listed in the bottom of the data dictionary changes.
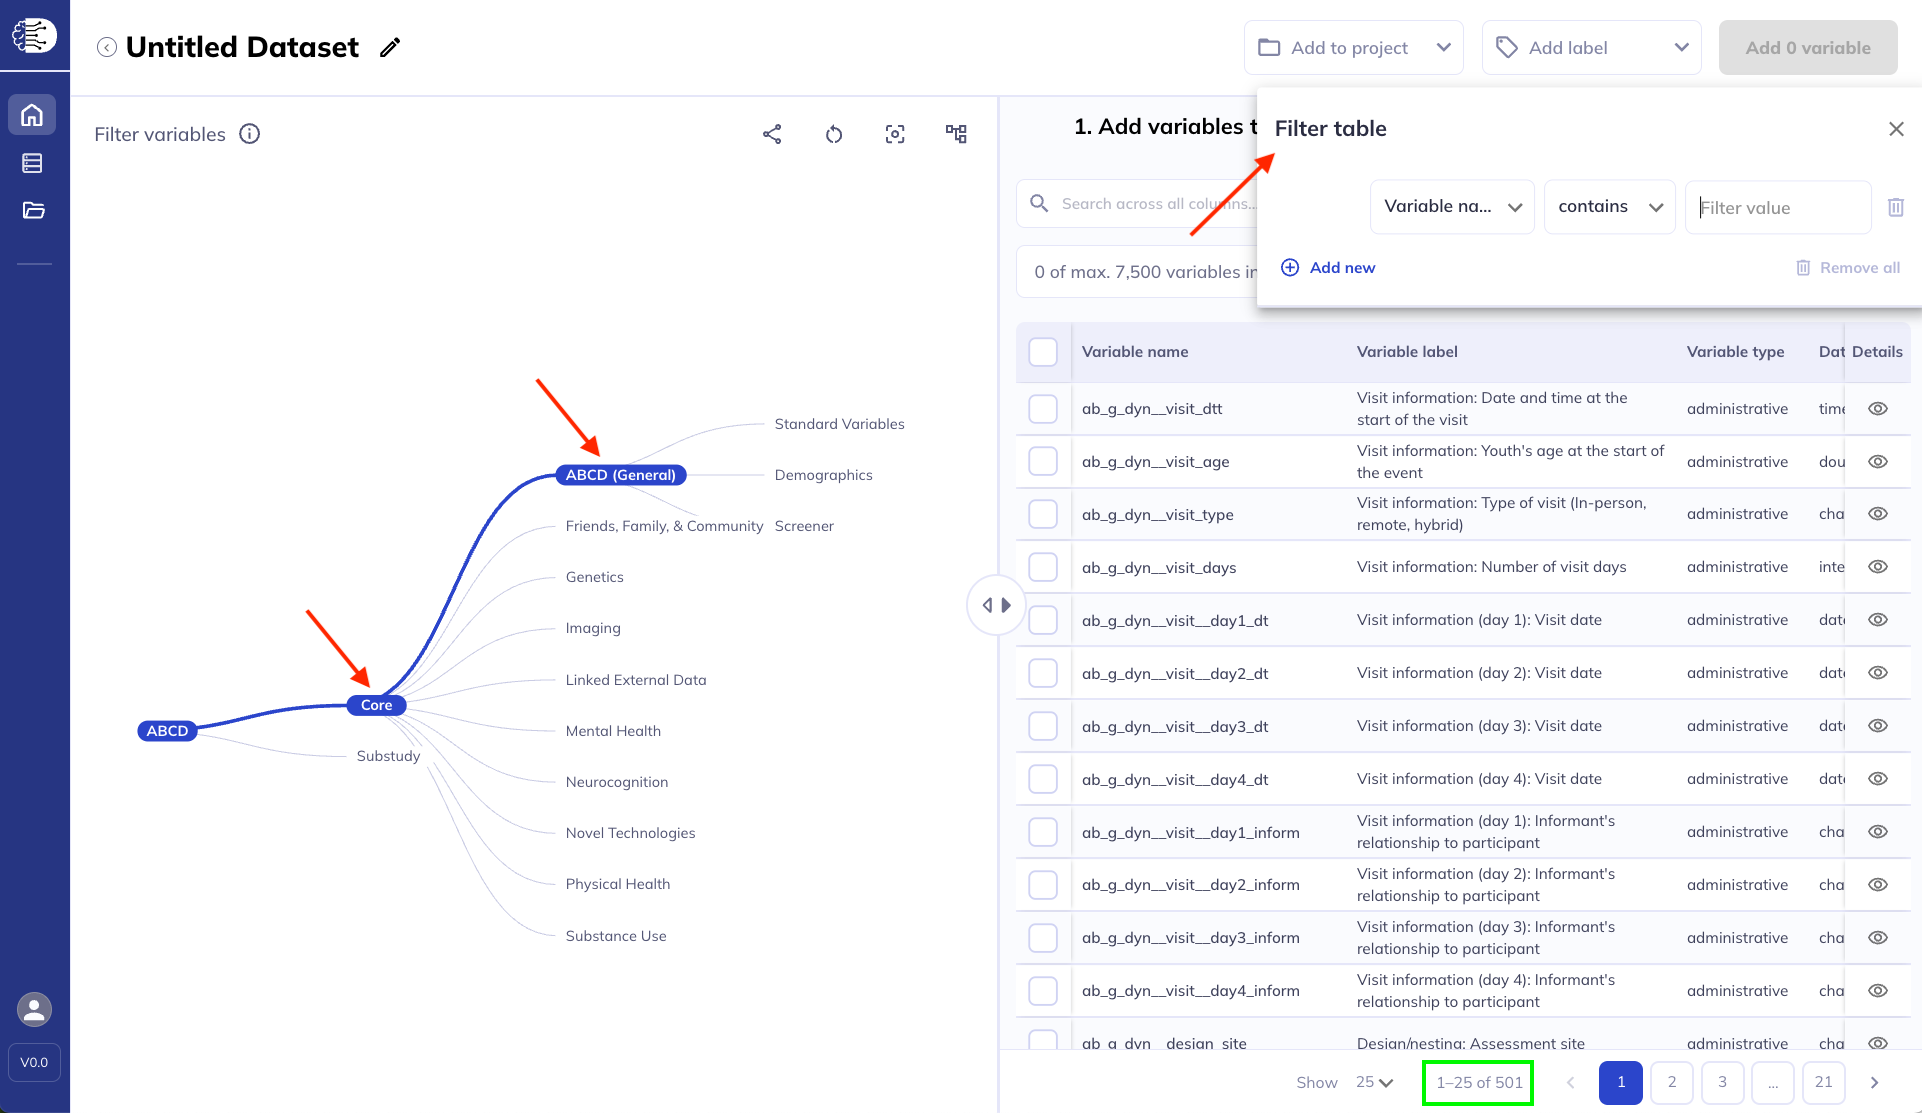
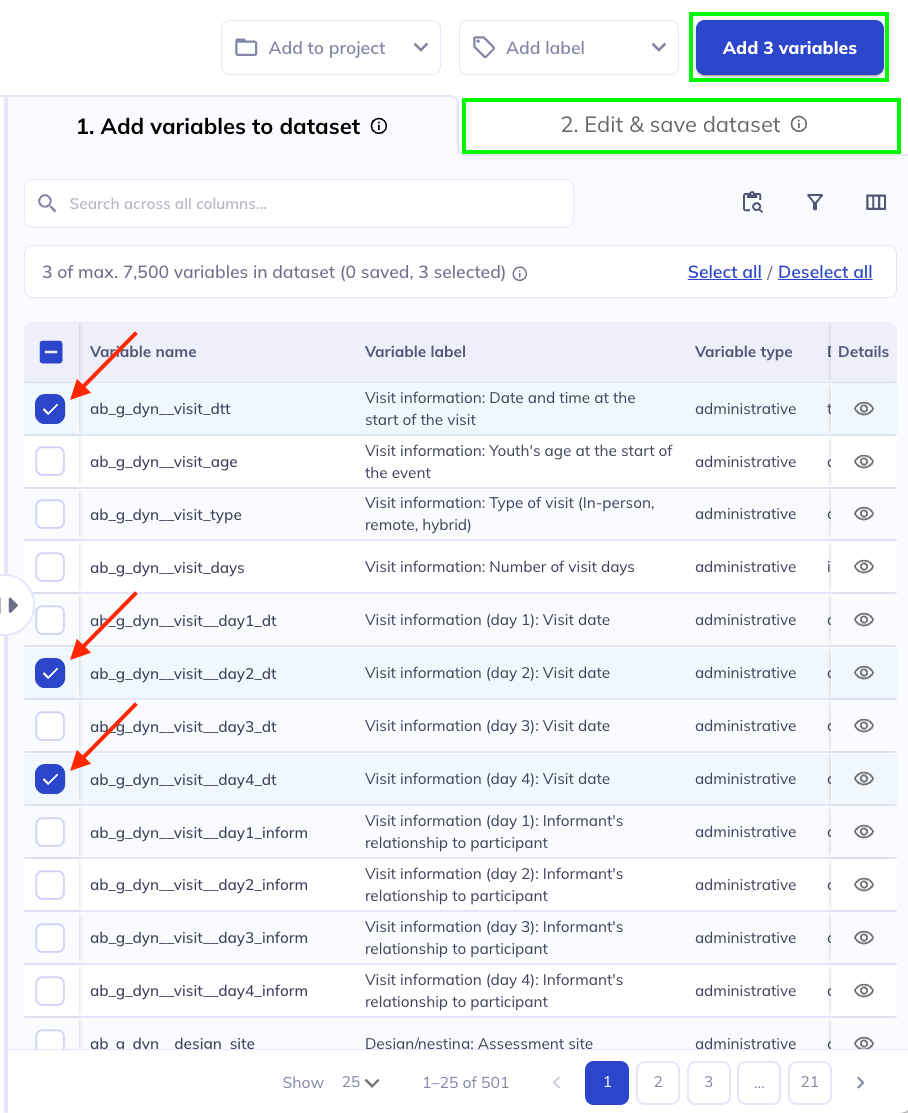
Step 3: Select the variables you want to include; learn about the 3 ways to select variables below. Continue until you have all your desired variables.
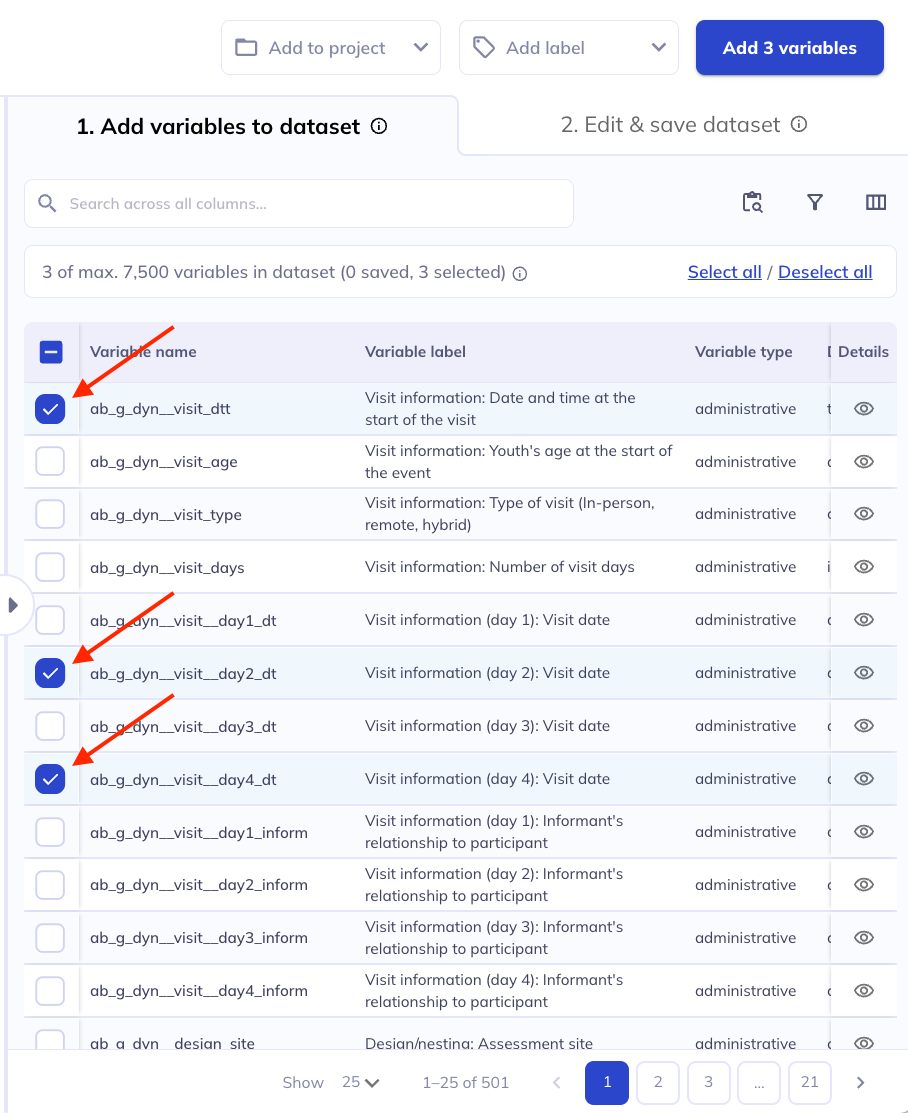
Step 4: Click Add # variables and navigate to the ‘Edit & save dataset’ tab.
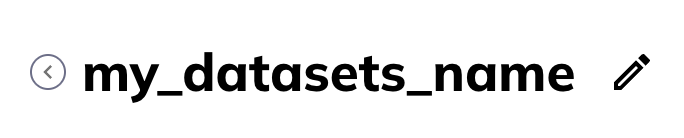
Step 5: Name your dataset, located in the top left corner, above the ontology tree. ().
Step 6: Make any edits to your dataset by re-selecting variables to remove them. Once you are done, click ‘Save dataset’.

Step 7: Add any additional variables that are of interest to your dataset. Click ‘Save’. You can also bypass this by clicking ‘Skip’.
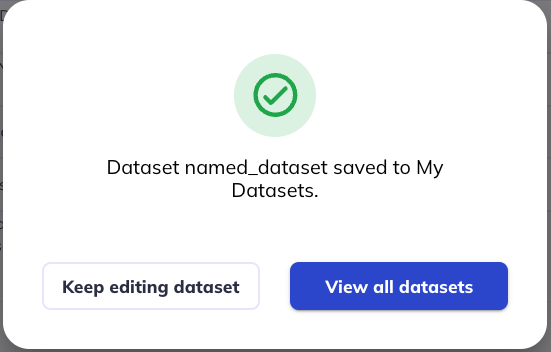
Step 8: Click ‘View all datasets’ or utilize the ‘My datasets’ tab on the left to access any datasets you have created.
Selecting variables
There are three ways to select variables, depending on your needs.
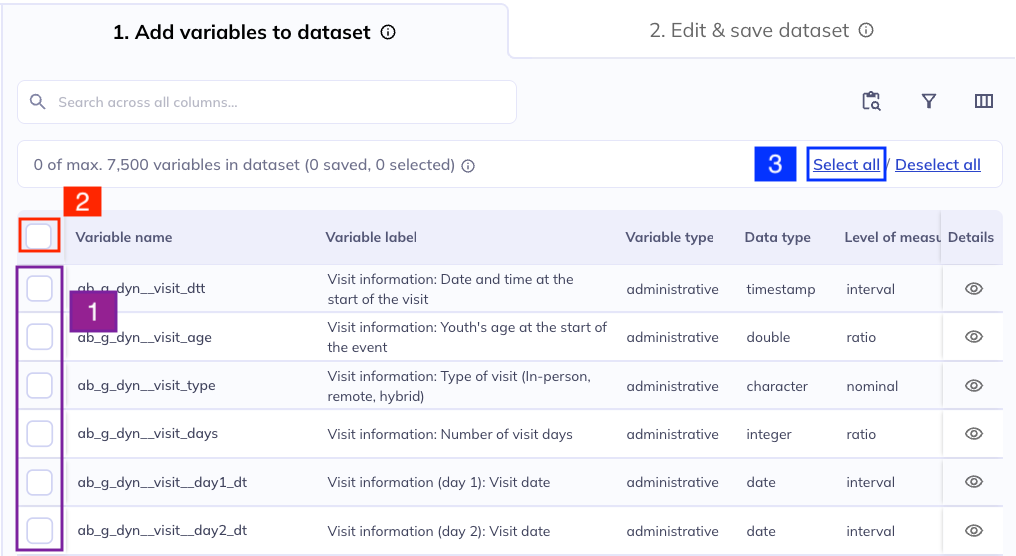
Individual variables: Click the checkbox displayed on the left-hand side of the data dictionary table to add individual variables to your dataset.
All on current page: Click the checkbox on the left side of the table header to select all variables on the currently displayed page of the table (see {here} for how to change the number of variables displayed on one table page).
All variables: Click select all in the banner between the search bar and table header to select all variables that are part of the data dictionary table after all your filters have been applied. This will select all the variables in the table across all pages. The number of variables included in the current filters are listed at the bottom of the page.
Select variables by name
As a quick and easy way to select variables when their names are known, you can use the icon above the data dictionary table and select variables by pasting a list of names. This way of selecting variables is especially useful if you want to recreate a dataset from another person or a dataset that used old naming conventions. You can paste in a list of variable names from any of the below types:
Variable name, i.e., the name used starting in the 6.0 releaseVariable name (NDA)Variable name (DEAP 1.0)Variable name (REDCap)
Variable name
You can only search by one kind of variable name type (i.e NDA, DEAP 1.0, etc) at a time. If you have a list of variables across multiple naming conventions, repeat this process with those variables as individual lists.
Once you paste in the list of variables you want and select the type of name you are using the system will automatically select all the variables included.
Sometimes when pasting a list of variables, an error can occur if the list contains invalid items or is incorrectly formatted. In the video, you can see the process and the resulting error message. To avoid this, make sure each item in the list adheres to the expected format, i.e.:
- one variable name per line
- no unexpected characters
- variable name has to be spelled correctly
- variable name has to exist in the selected naming convention
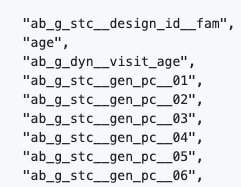
You can paste variables with quotations & commas, such as those you may copy from an R or python script. Variable lists should still follow all other listing conventions (i.e. seperate lines).
If there is an issue with your list, the selector will not let you proceed until the erroneous line has been corrected or removed. Variable names that do not exist in the data dictionary will be highlighted in red. You can also select to only display the errors to more easily resolve them. After all errors have been corrected, you will be able to proceed by clicking “Submit” which will select the pasted variables in the data dictionary table.
After you have selected variables that you want to add to your dataset, click Add # variables in the top right corner of the screen. You can go through several rounds of filtering, selecting, and adding variables to your dataset or select and add all of them at once.
Once variables have been added to the dataset, their checkbox in the data dictionary table will be grayed out and no longer be selectable. To learn how to remove variables from your dataset or finish compiling your dataset, see Edit & save dataset.
Edit & save a new dataset
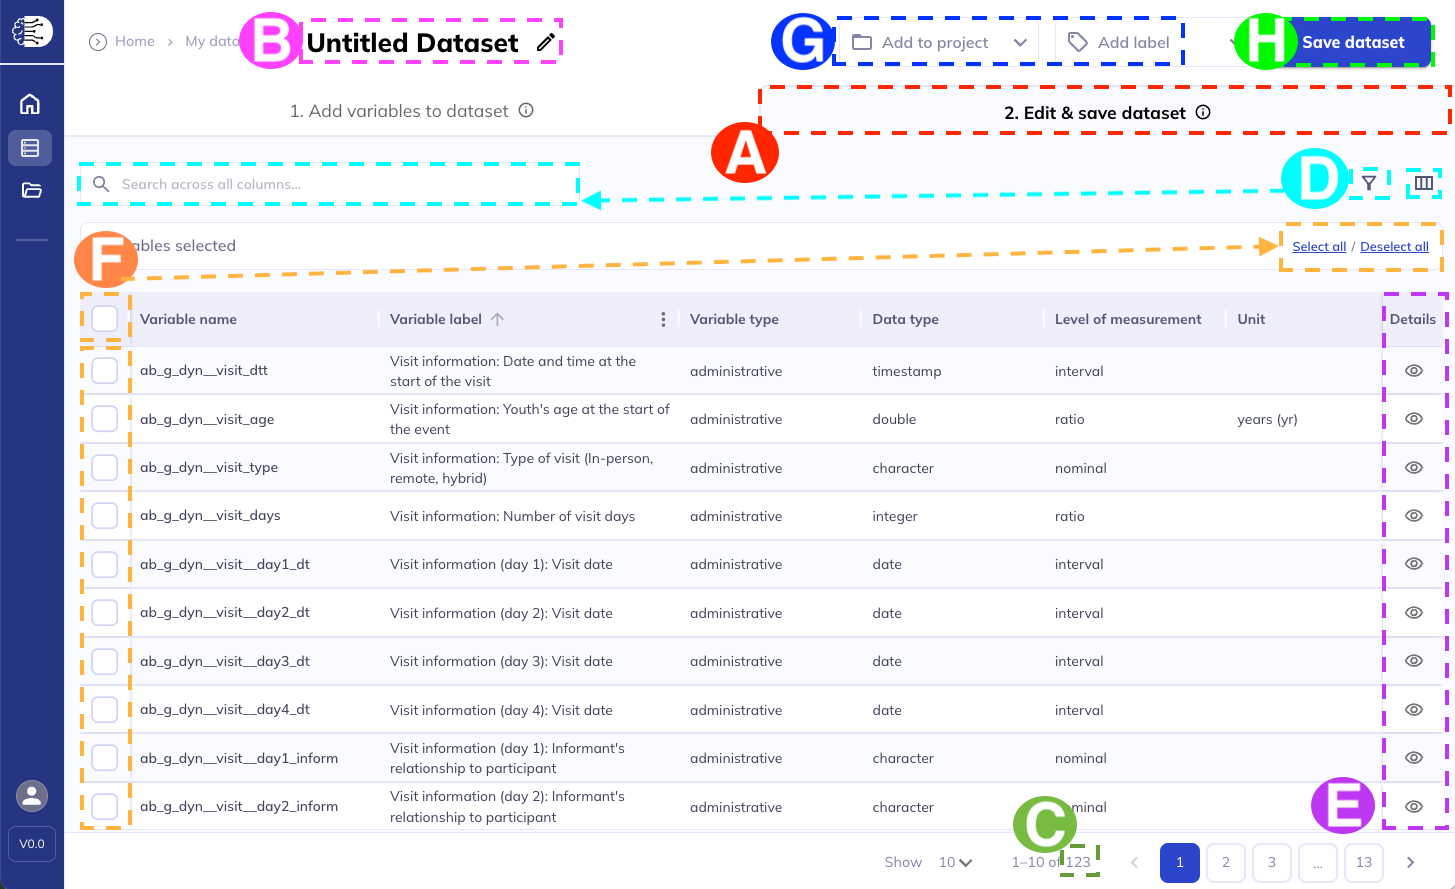
A: Edit & save dataset tab
B: Name your dataset
C: Number of variables in dataset
D: Filter, search, & edit columns
E: Variable details view
F: Select to remove variables
G: Add labels & add to project
H: Save dataset
To give your dataset a descriptive name, click the icon next to Untitled Dataset or click the name field (where it says ‘Untitled Dataset’). Dataset names cannot be duplicated within the same user profile, so make sure to choose a unique name that you haven’t used for previous datasets.
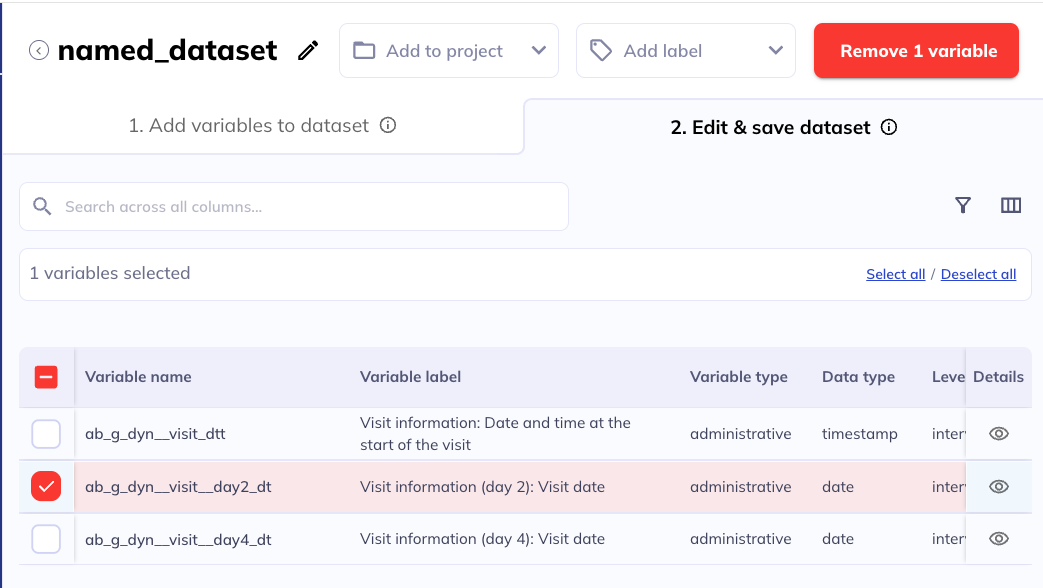
The data dictionary table in the Edit & save dataset tab is very similar to the one in the Add variables to dataset tab. Filters (), Column selections (), Detail view () as well as the ability to expand the number of variables viewed and cycle through variables are available and function exactly the same as described above. Variables can also be selected and/or de-selected in the same way.
If you do not need to remove any variables you have added to your dataset in the previous step,then no action is needed related to individual variables in the Edit & save dataset tab.
If you do have variables selected that you no longer need, select them in the data dictionary table and click the red button in the top right, Remove # variable(s).
Once your dataset has been named and all desired variables are included, you can click Save dataset.
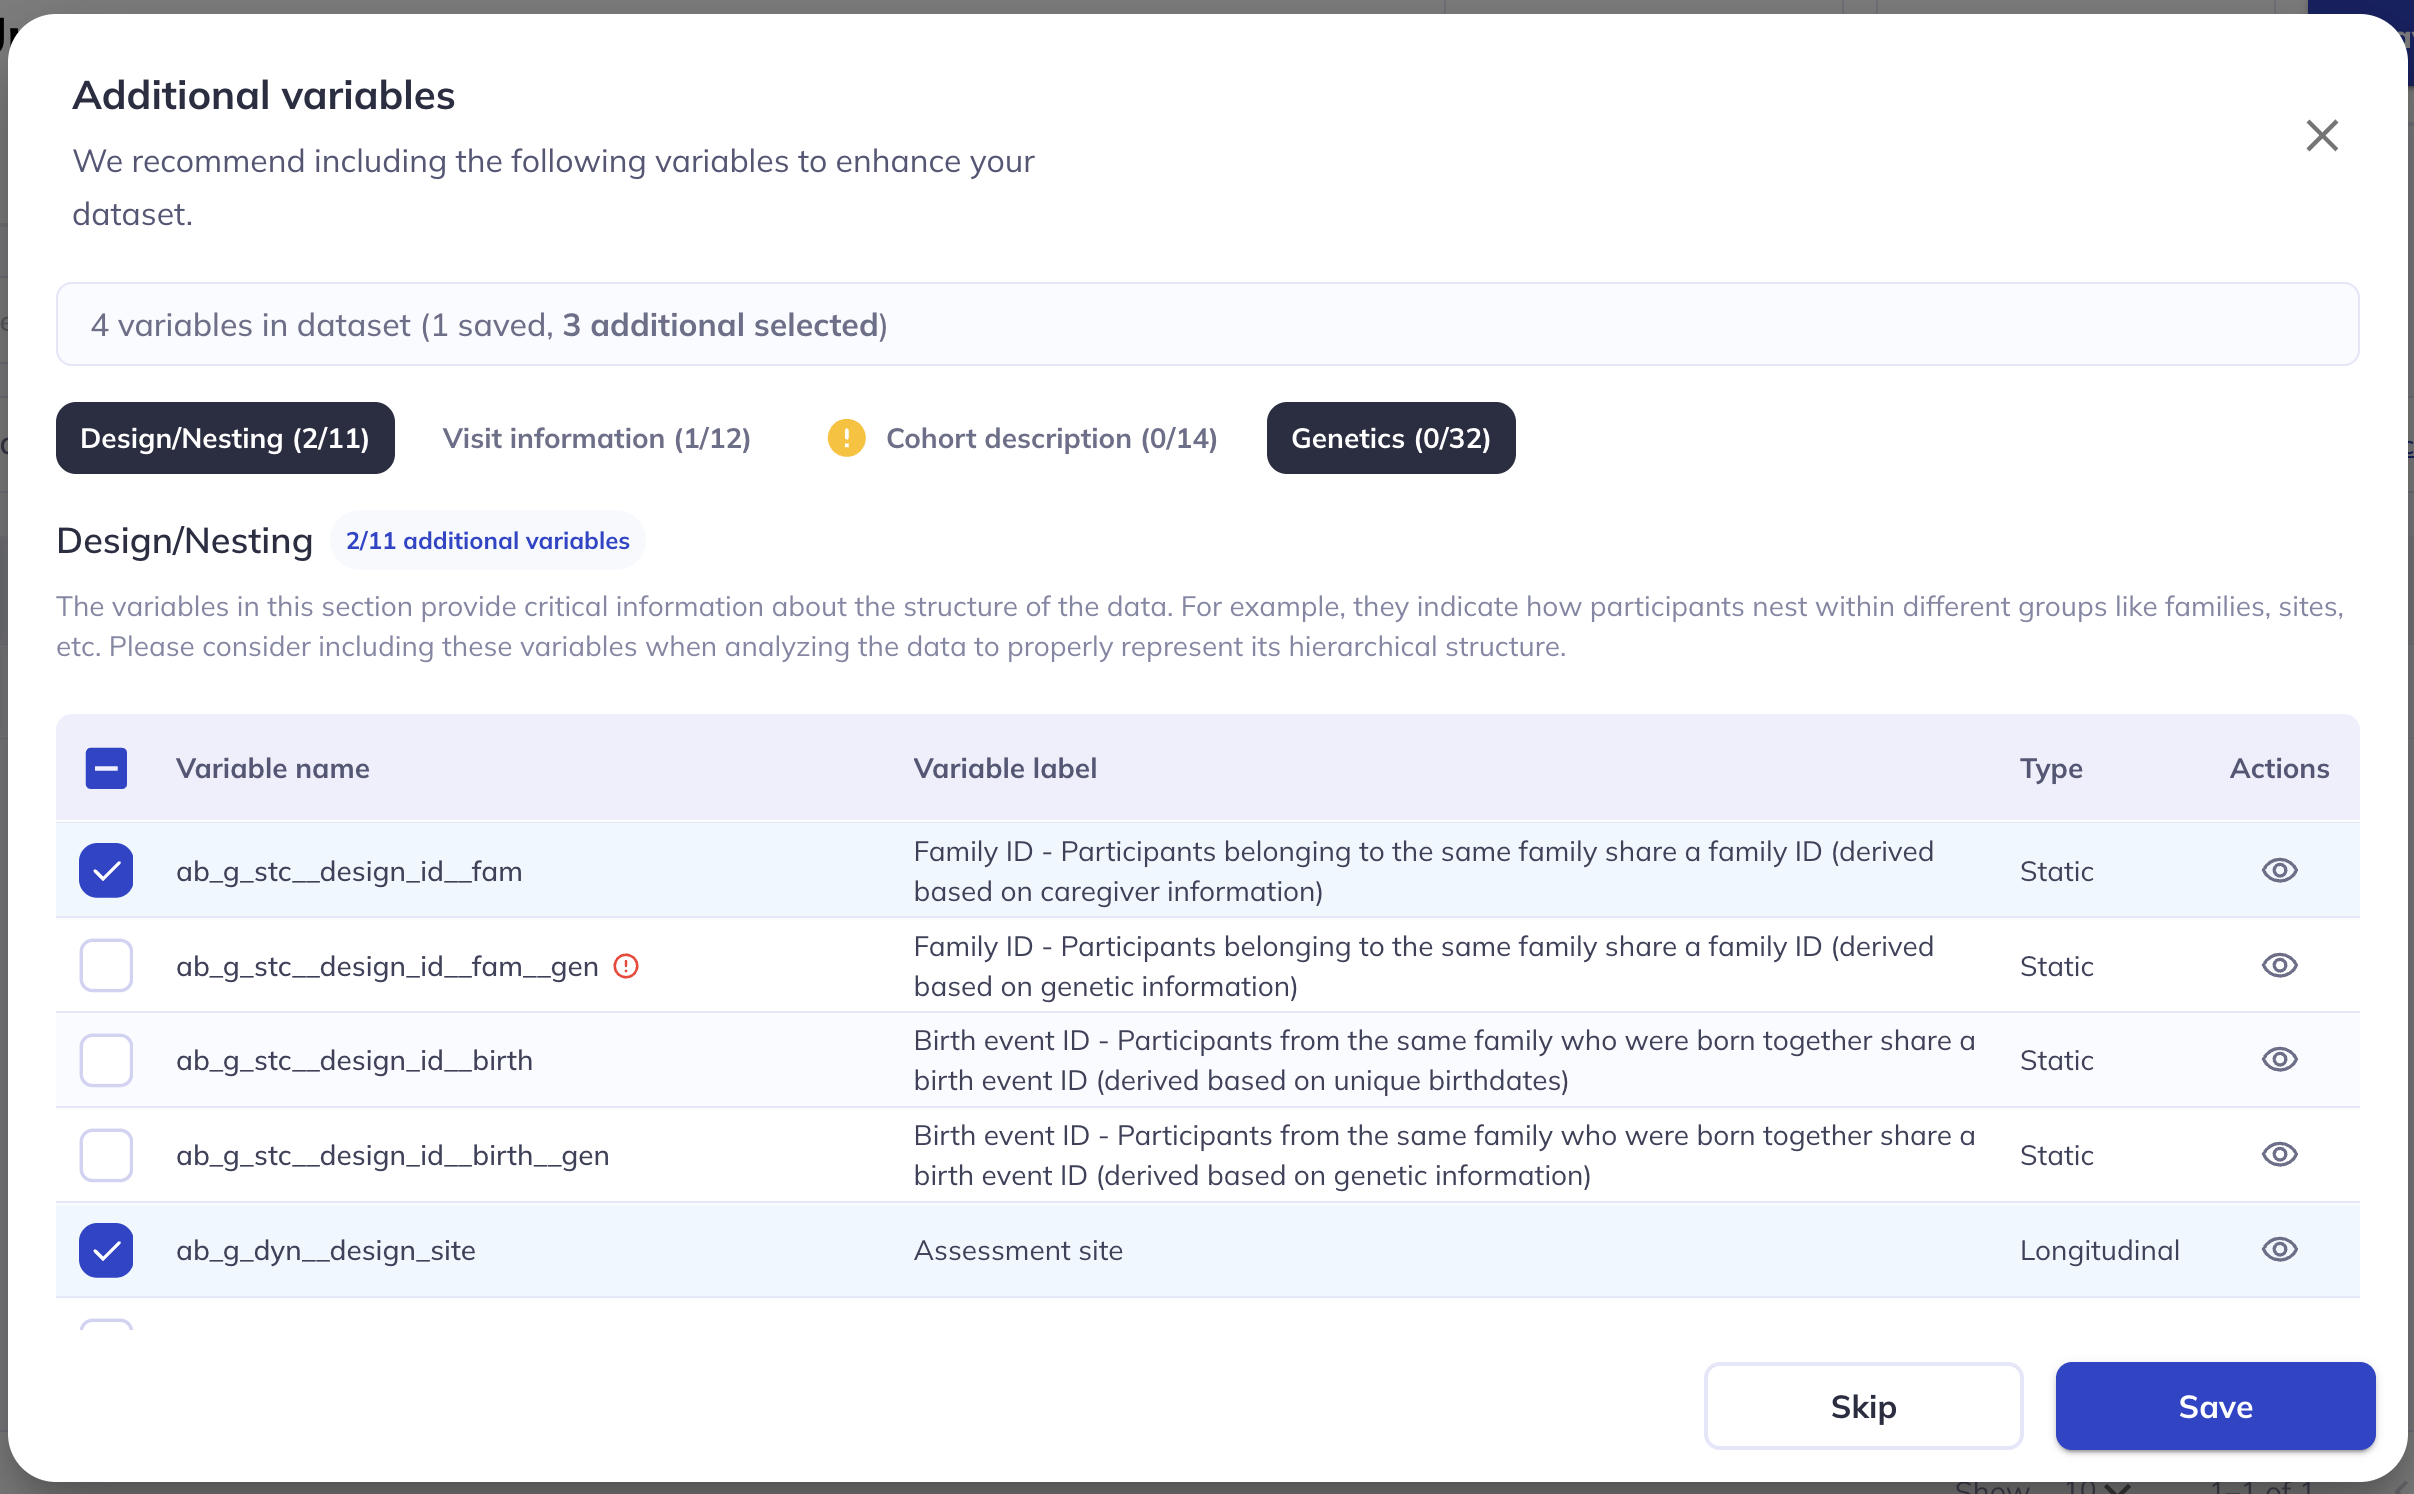
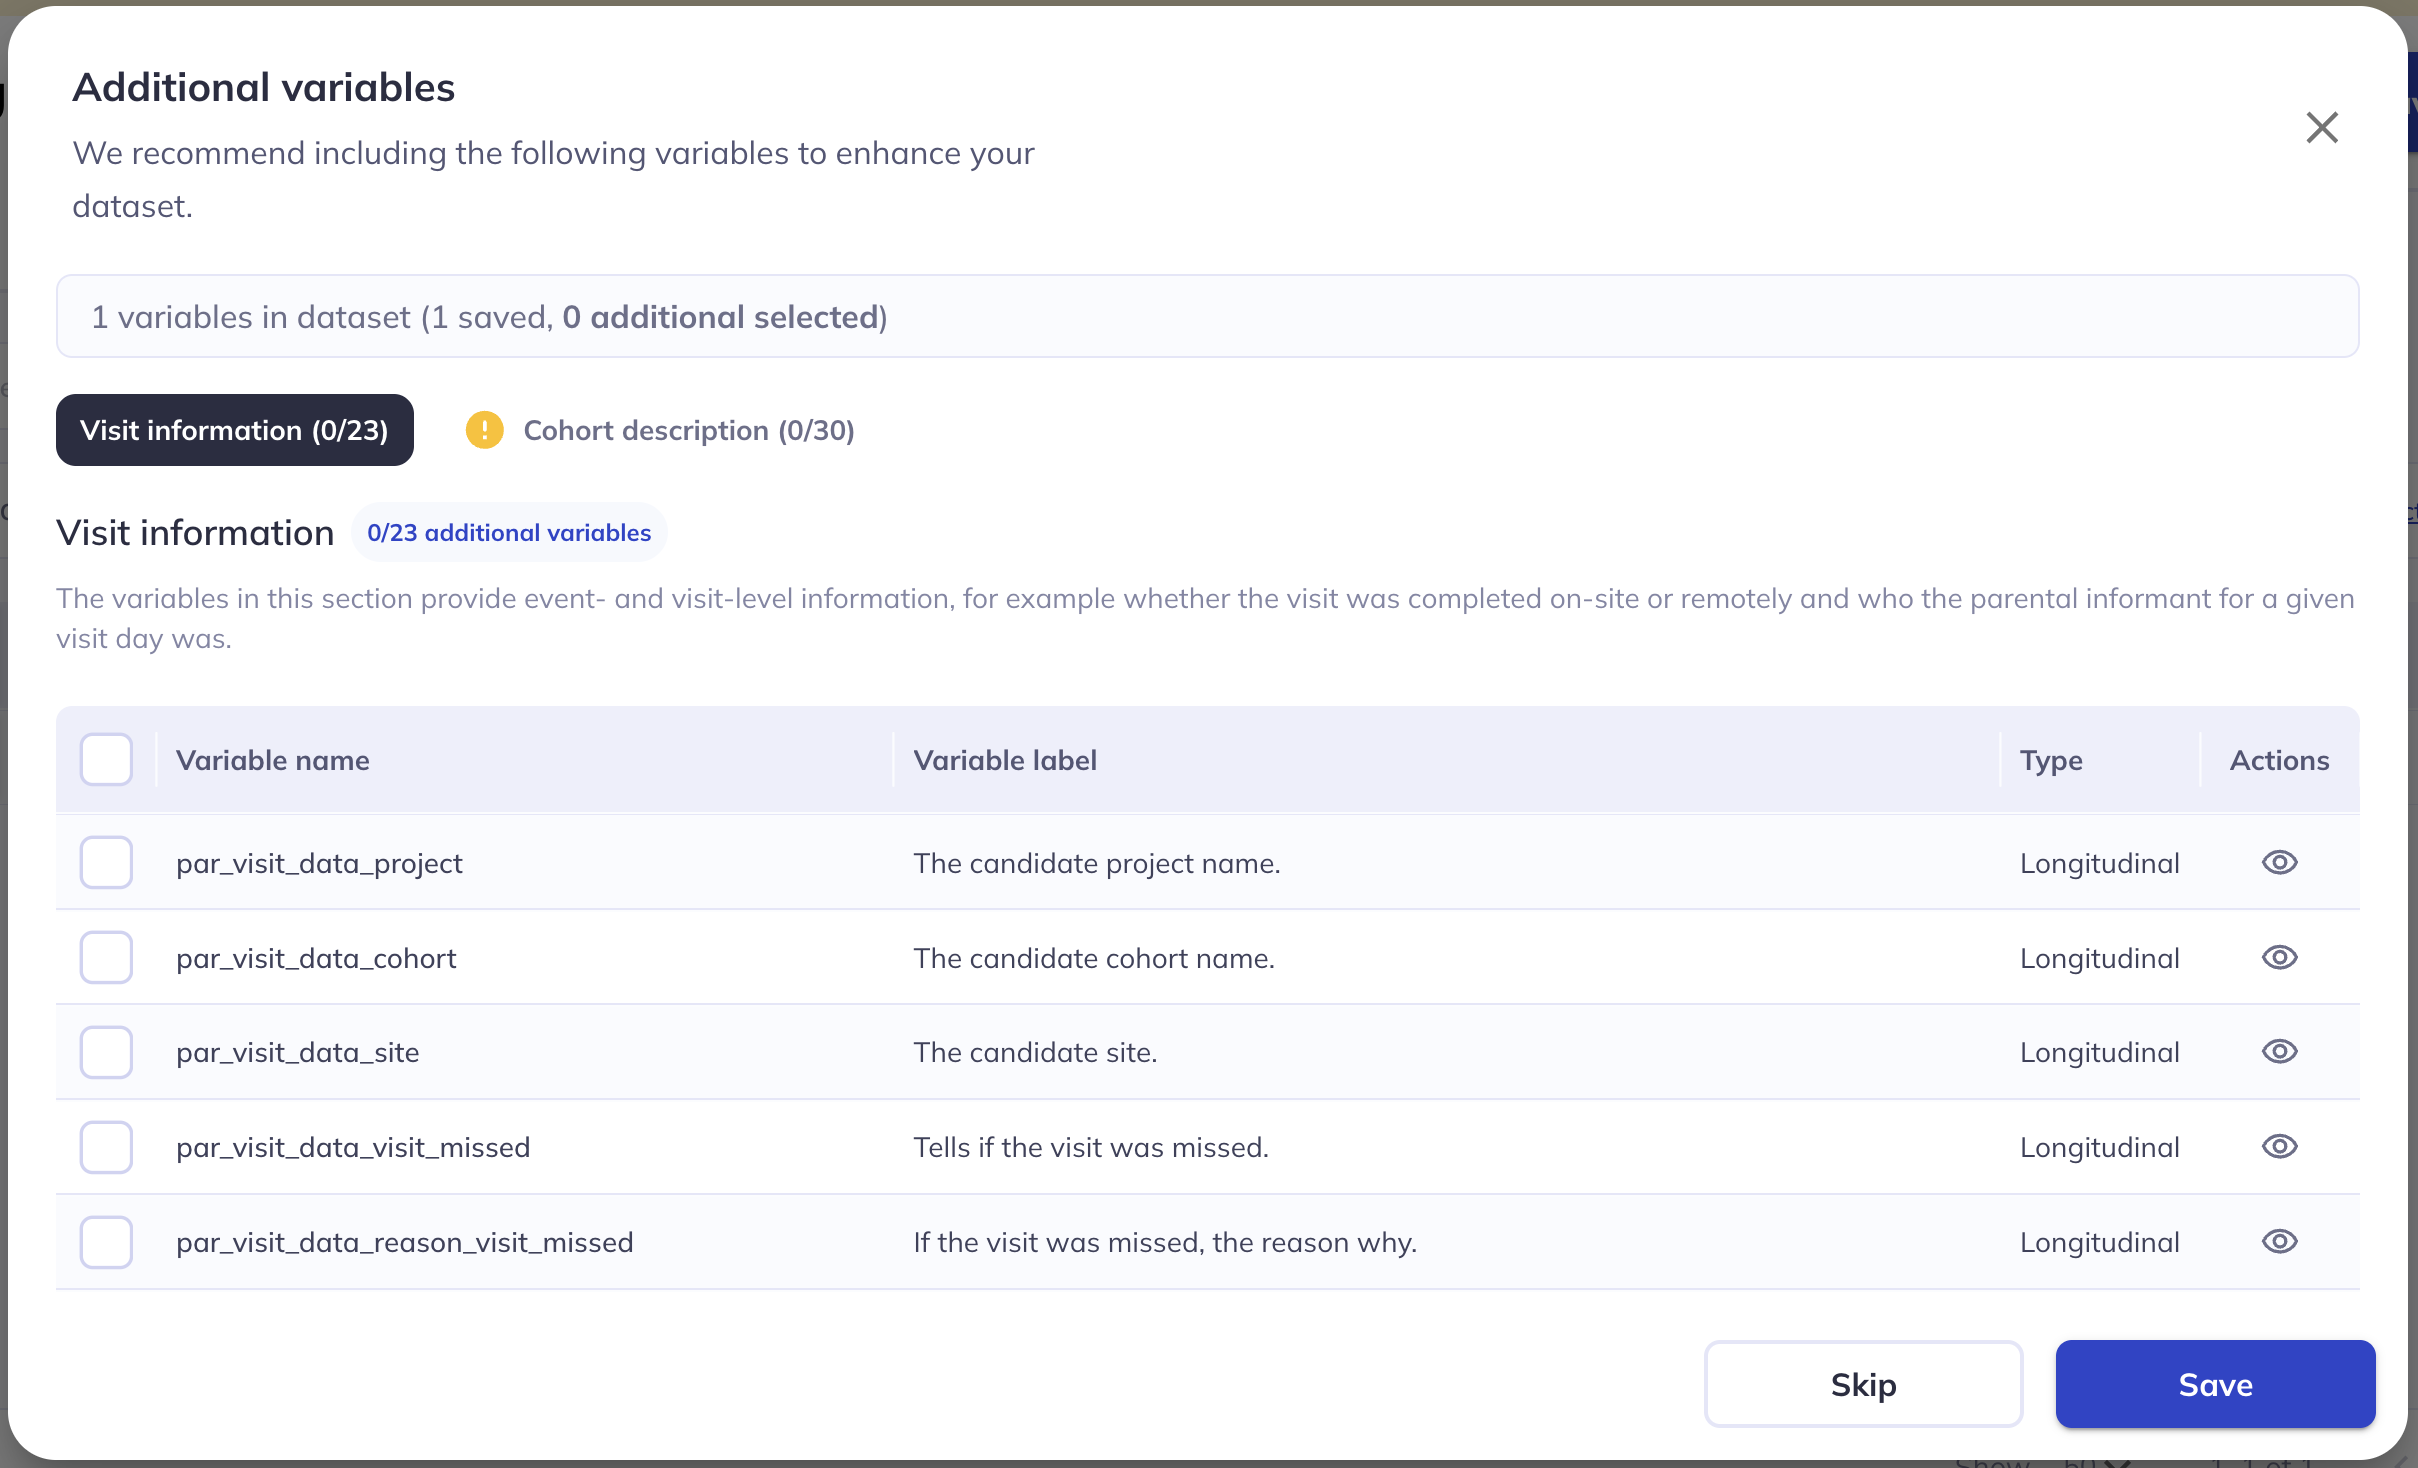
Additional variables
When you are save your dataset for the first time, DEAP will display a dialog with suggestions for additional variables you might want to add to your dataset. These variables have been chosen given their importance to most-all research projects.
These variables are from the tables Static variables (ab_g_stc) and Dynamic variables (ab_g_dyn). These tables combine data from different subdomains and may be ‘cross-listed’ (i.e. duplicated) in other tables. If a variable is cross listed the variable label will indicate where it is cross listed.
The additional variables are presented organized by subdomain, (with static and longitudinal ones integrated):
Design/nesting: Information about the hierarchical structure of the data, e.g., how participants nest within different groups like families, sites, etc.Visit information: Event and visit-level information, e.g., whether the visit was completed on-site or remotely, who the parental informant for a given visit day was, visit date, etc.Cohort description: Basic socio-demographic information about the participants useful to describe the sample, e.g., Table 1 in a publication.Genetics: Principle components of genetic ancestry
These variables are from the tables Visit information (par_visit_data) and Basic demopgraphics (sed_basic_demographics). These tables combine data from different subdomains and may be ‘cross-listed’ (i.e. duplicated) in other tables. If a variable is cross listed the variable label will indicate where it is cross listed.
You can choose to select any or none of these variables. If you do select any, the columns will be left joined to the columns that you selected during your initial dataset compilation.
In this dialog, you can explore and select these variables the same way you did in the data dictionary table in previous steps, including more about them in the details view ().
Add any variables of interest (be aware that some additional variables that are of critical importance like family ID and age are selected by default) and click “Save” to add save your dataset with the additional variables. If you do not want to add any additional variables, click ‘Skip’ to save your dataset in the original state.
Joining strategy
DEAP allows users to combine an arbitrary number of variables from different tables in the database into one dataset. These tables vary with regard to which participants or participant/events they contain data for. For example, different tables might have data for different subsets of participants depending on who missed visits or who participated in a specific protocol element; certain protocol elements are only done at a small number of events while others are done at (almost) all events; several substudies use their own event structure that is independent of the events in the core study.
It’s important to understand how the variables from different tables are joined together when creating a dataset in DEAP. Generally, variables are joined using the columns specified in the identifier_columns column of the data dictionary as the keys to join on. But depending on when during the process of creating a dataset the variables were added, different joining strategies are employed:
- Variables that have been selected during the main procedure of creating a dataset (see the section above about adding variables to your dataset) are joined using a
full_join(). That means that all rows will be kept, even if they do not have a value for all columns, e.g., because variables from a table that contained data for more participants/events were joined with variables from tables that contained fewer participant/events. - Variables that have been selected in the additional variables dialog are then joined to the variables selected during the main procedure using a
left_join(). That means that only the values for already existing rows (or participant/events) will be added and no new rows will be created. By left-joining the additional variables, DEAP avoids creating new rows that contain only missing values for the main variables of interest that were selected using the main procedure. For example, if a user selects variables from a table that only contains data for one event because the measure was only done once, then adds variables from the Add variables dialog that exist for many more events (e.g., age at visit), the joined data frame will only contain rows for the event that contains data for the variables of interest and will not include the added variables for events that don’t.
Schematic for various variable joins

Full join: Includes all rows from all tables, creating new rows even when some variables are missing. A full join is used when selecting variables from the data dictionary explorer.
Left join: Keeps only the rows from the left table, adding data to those existing rows. A left join avoids introducing rows that contain only the additional variables. This is used when you add variables from the additional variables dialogue box (during the ‘Save your dataset process’).
Accessing existing datasets
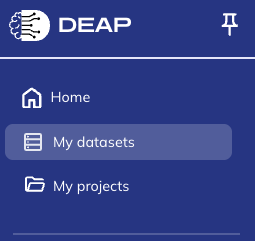
To access your saved dataset, click the My Datasets () tab on the left hand sidebar.
Learn more about how to manage your already created datasets (including, how to edit, share, organize, or download them) in the ‘My datasets’ documentation tab:
![]()